Brightfox Support
Appearance
Documents
Add Documents
Click on the + Add button in grey in the top left corner.
Select the documents or URL links that you would like to load into the CRM and add to the dialog.
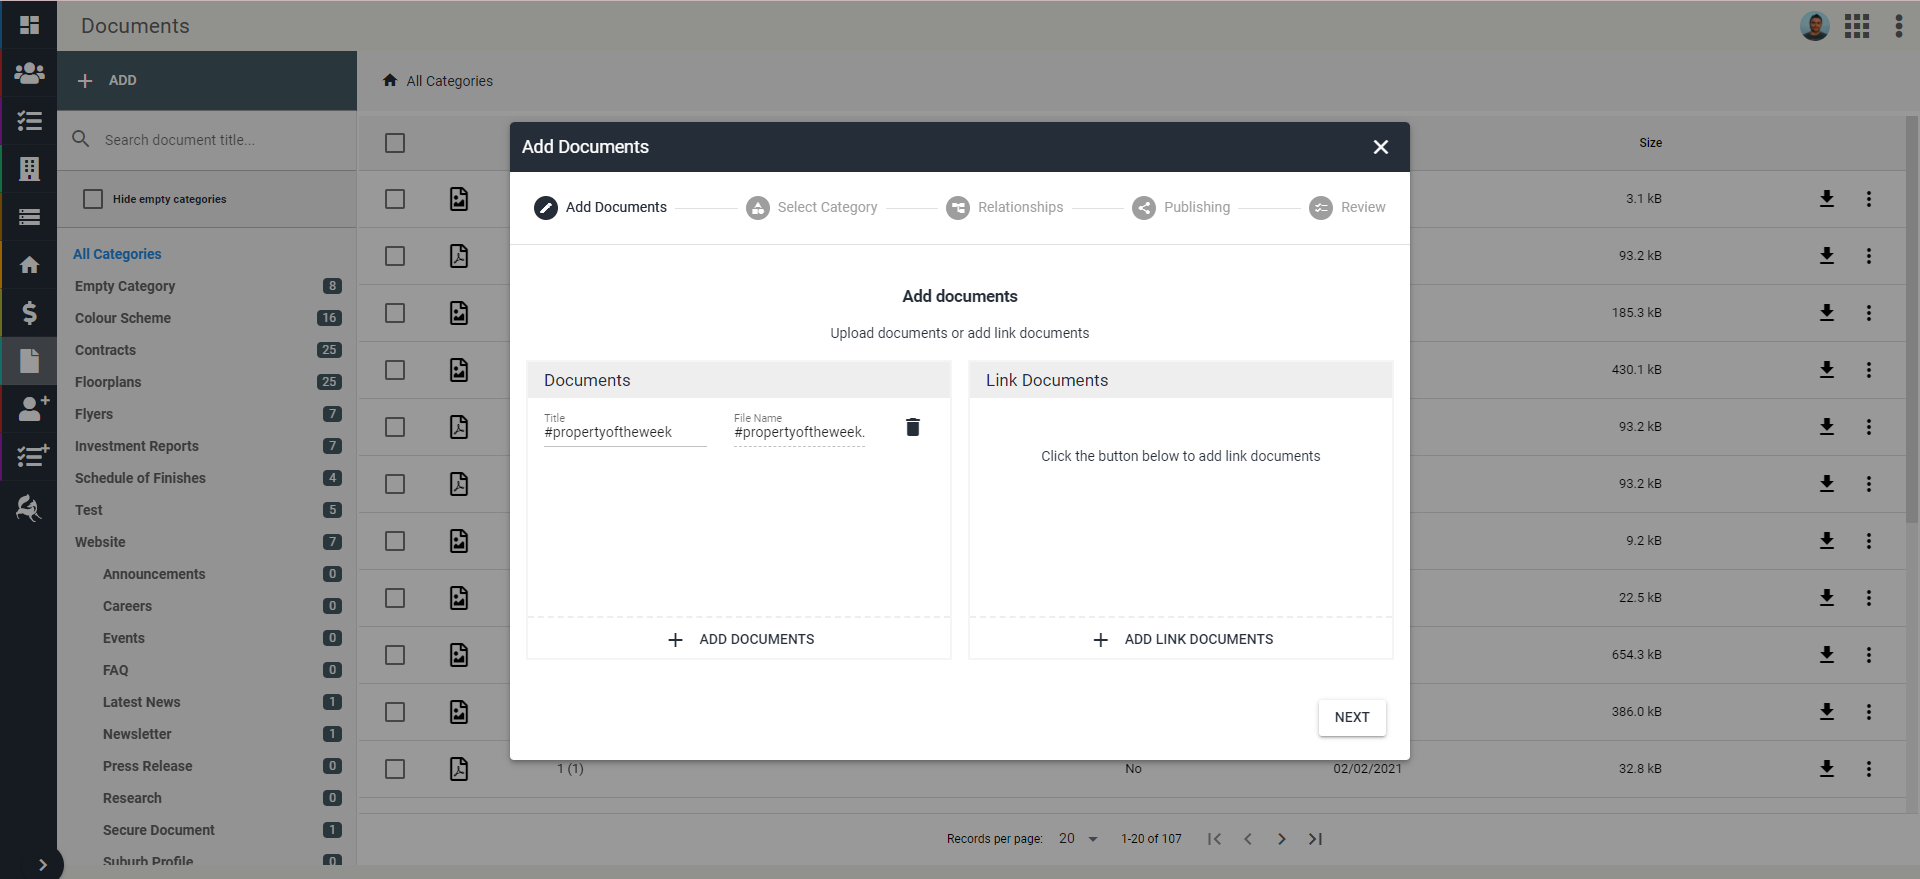
Click Next.
Assign the relevant categories to your documents.
TIP
If the category doesn't exist and you have permission to do so, you can create new categories to tag your documents against.
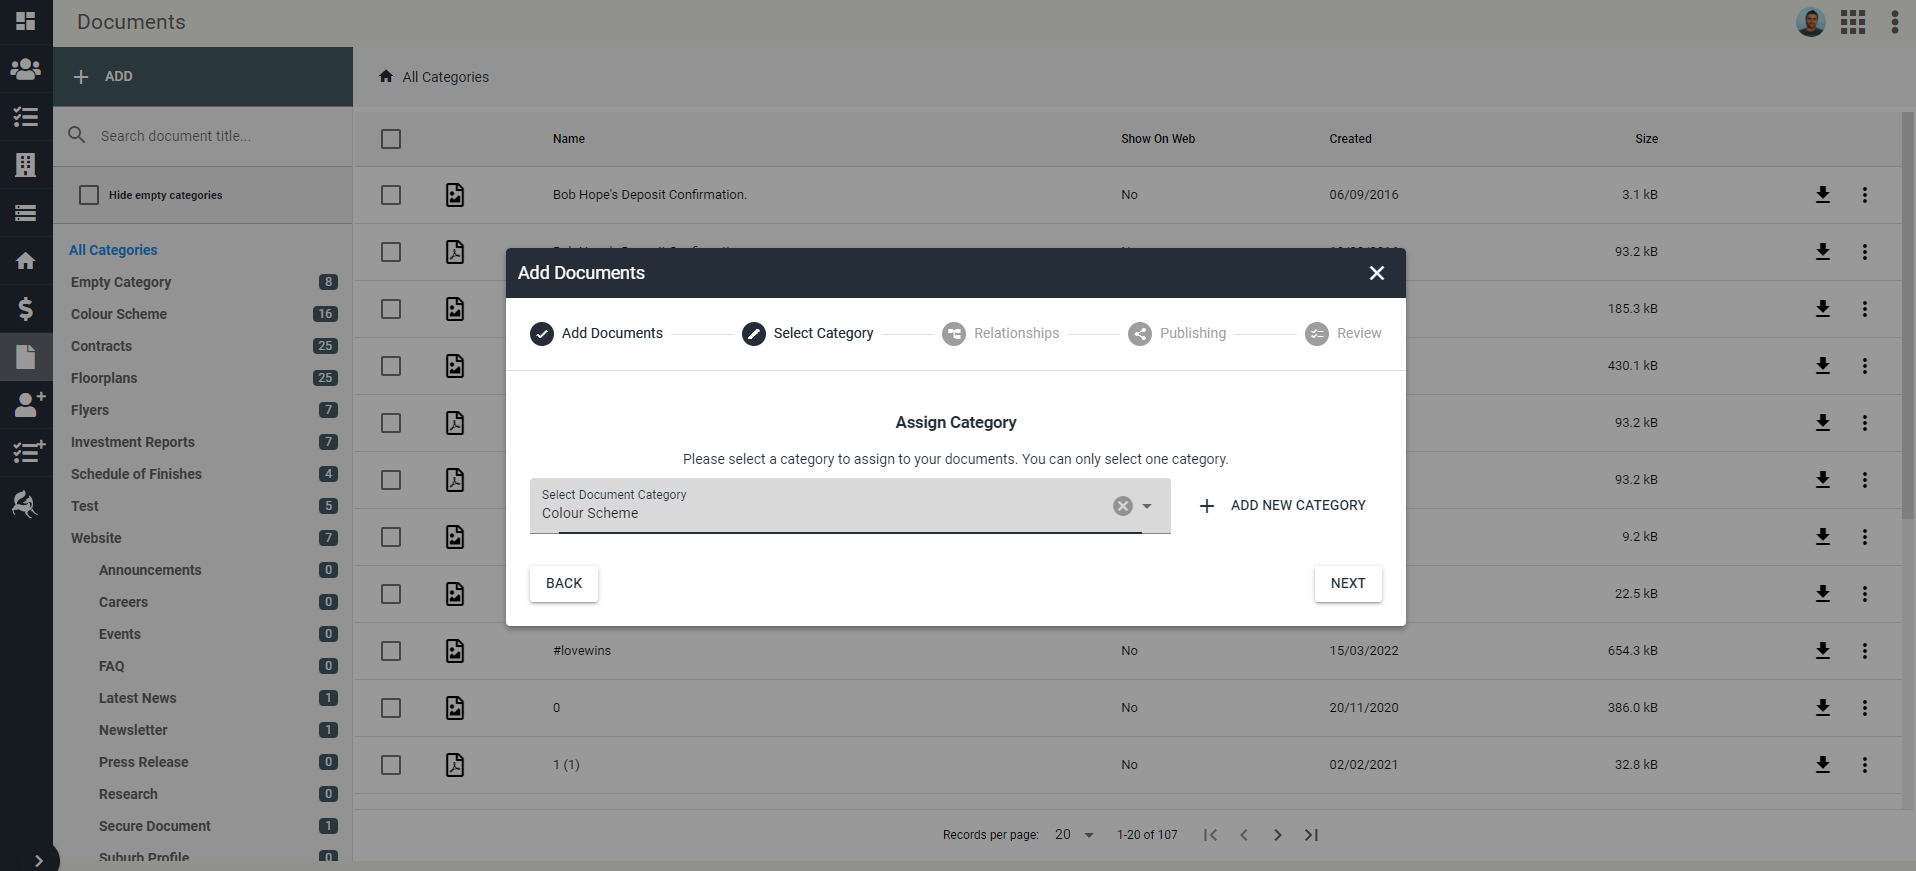
Click Next.
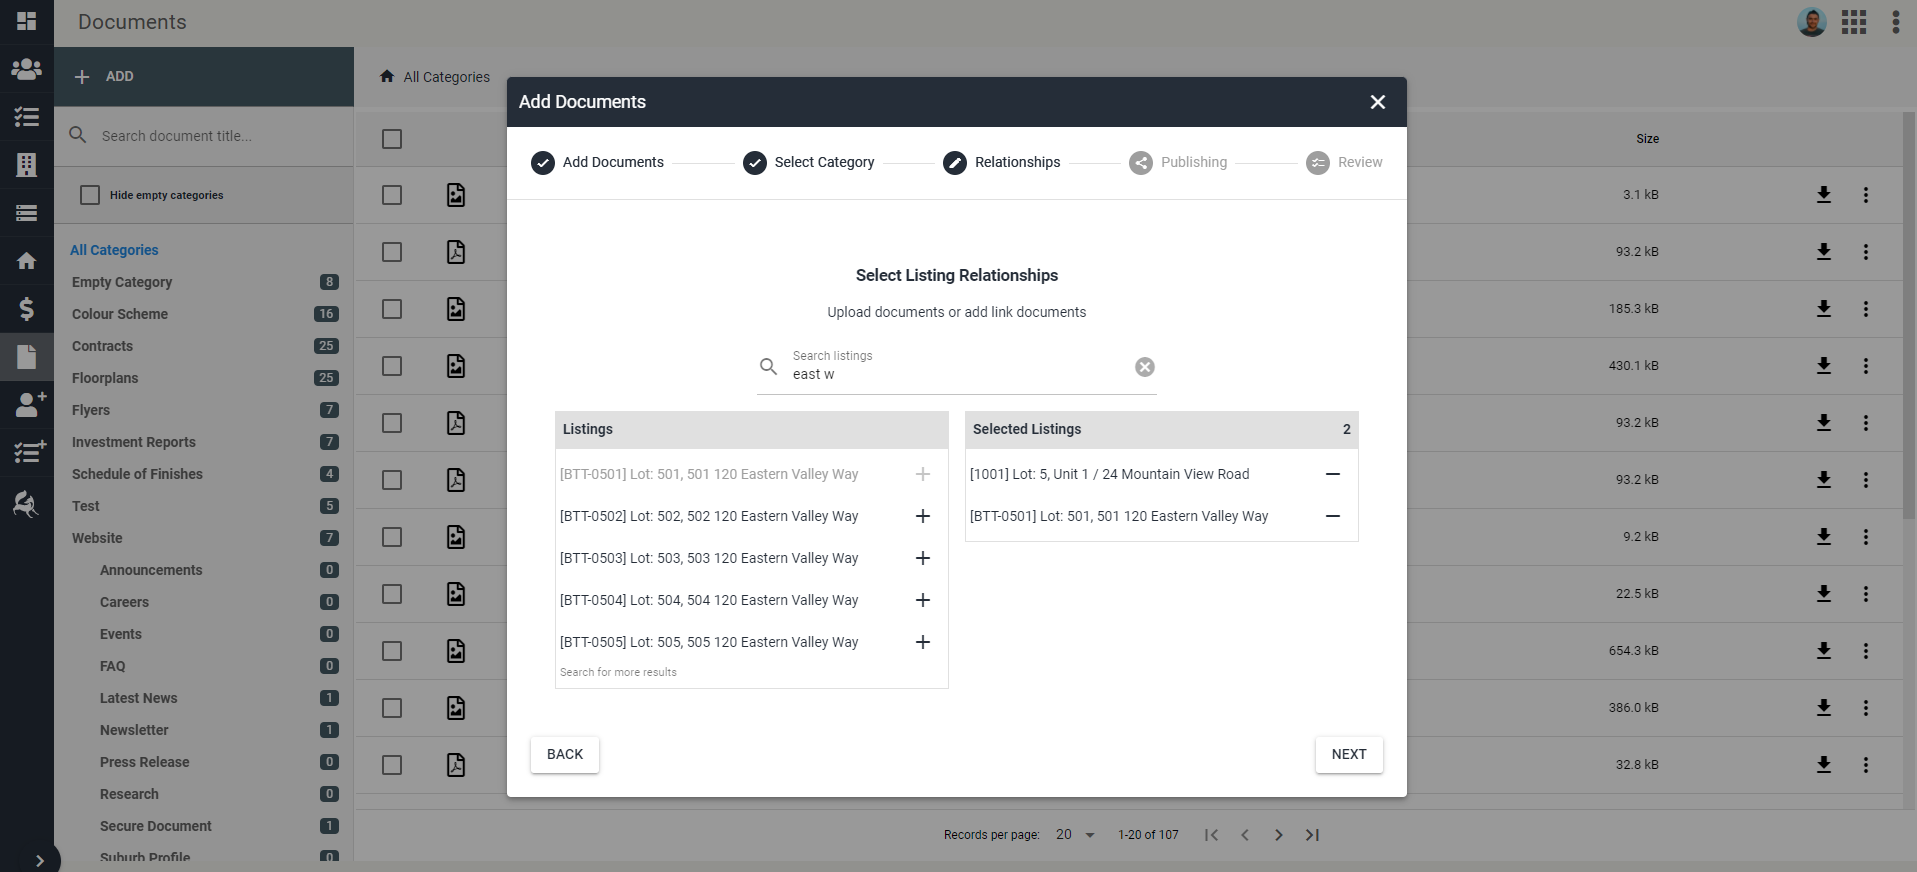
Assign relationships - which entities should the documents relate to? You can select multiple relationships at this stage.
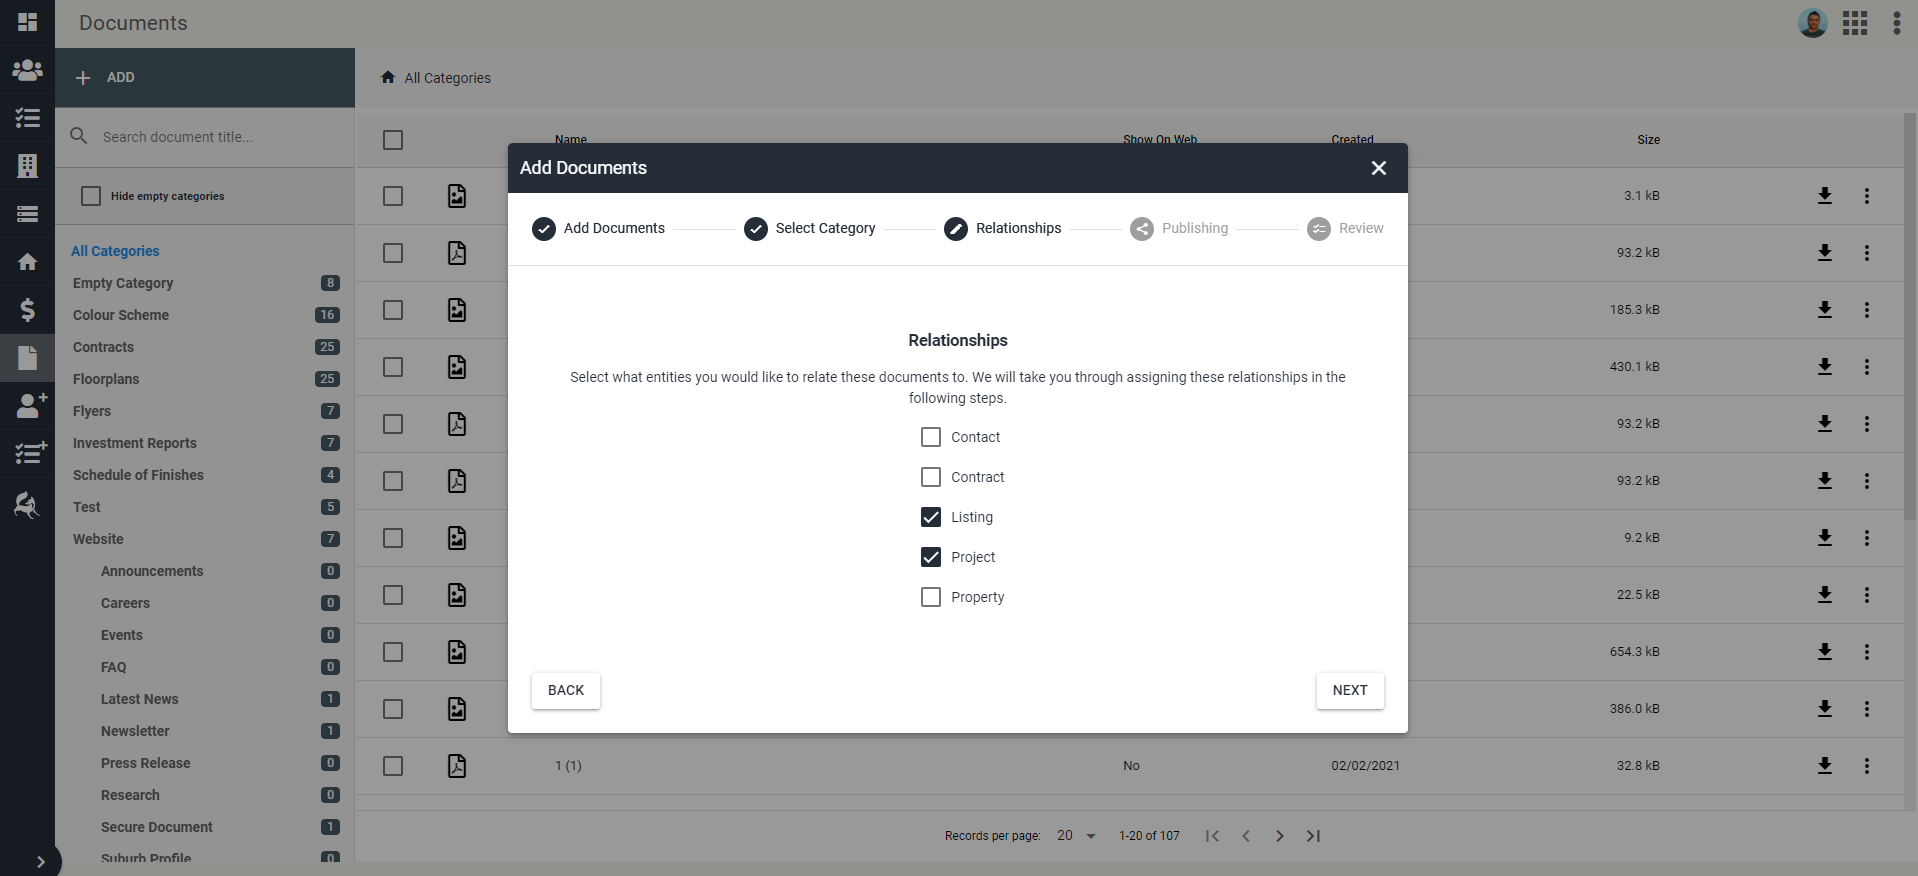
Click Next.
Depending on which relationships you have selected, the next steps will vary a little, however the primary step is the same - you will need to search for the exact listing, contact, contract, project or property that the documents need to be related to and add to the Selected Listings table.
Click Next.
Select whether the documents will be available on other platforms if needed. If none of the publishing options are selected, the documents will just be available in the CRM.
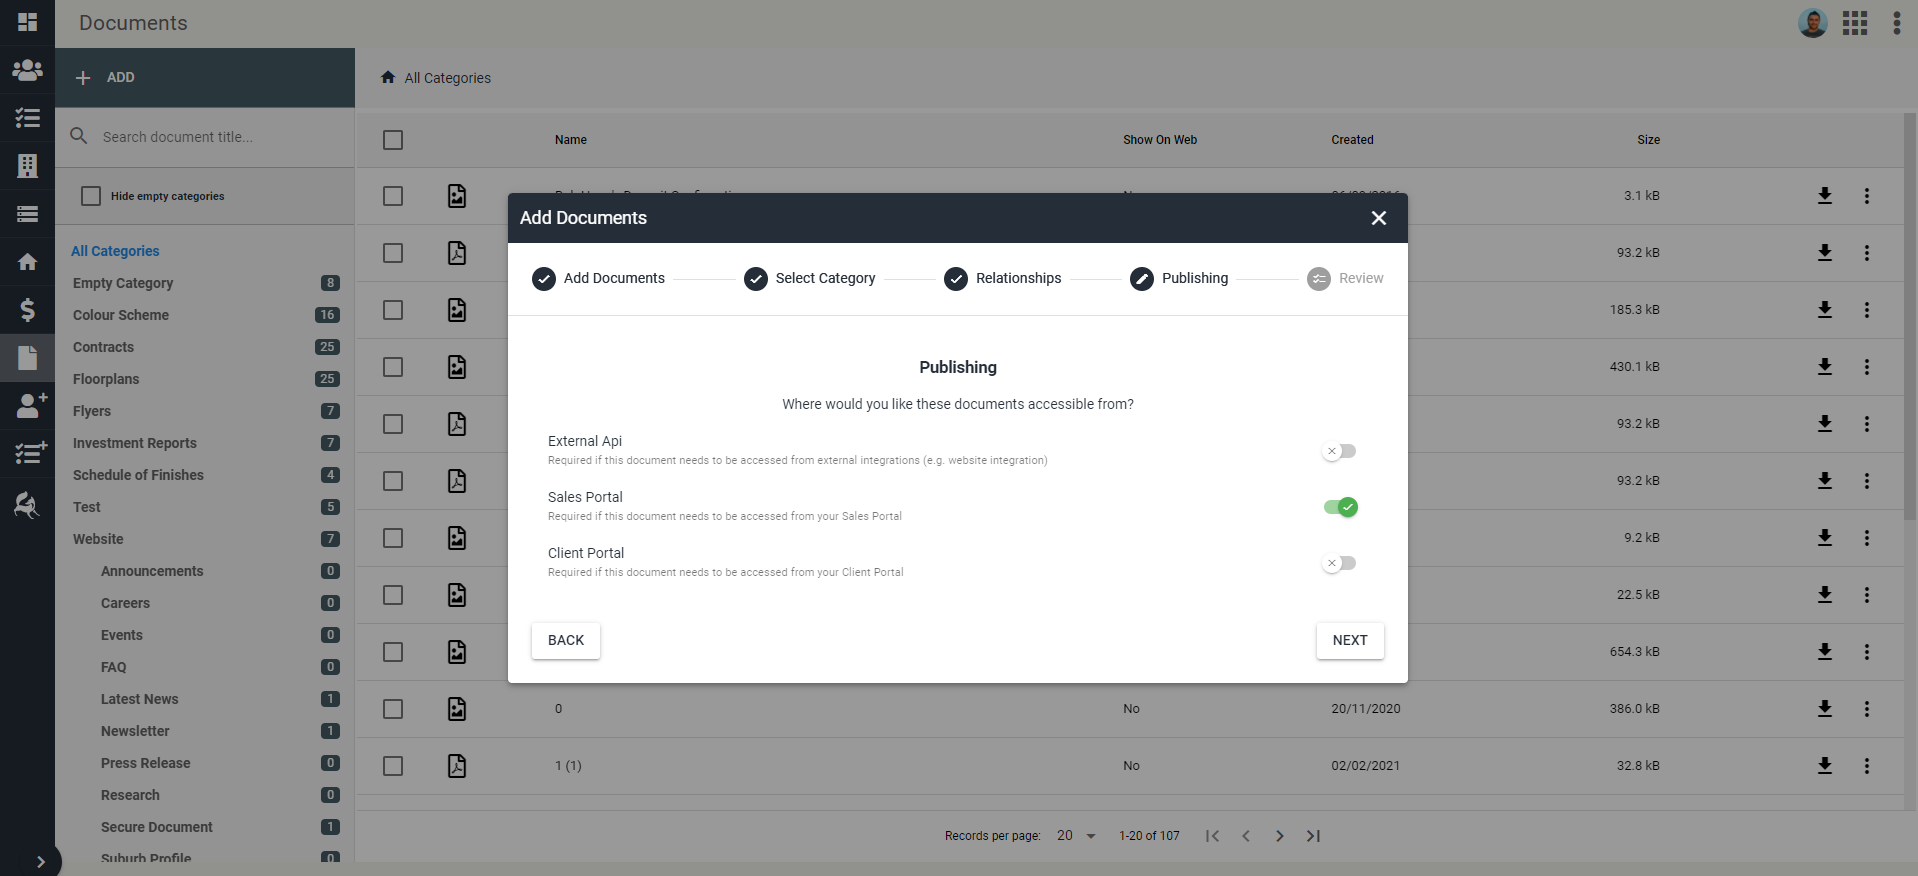
Click Next.
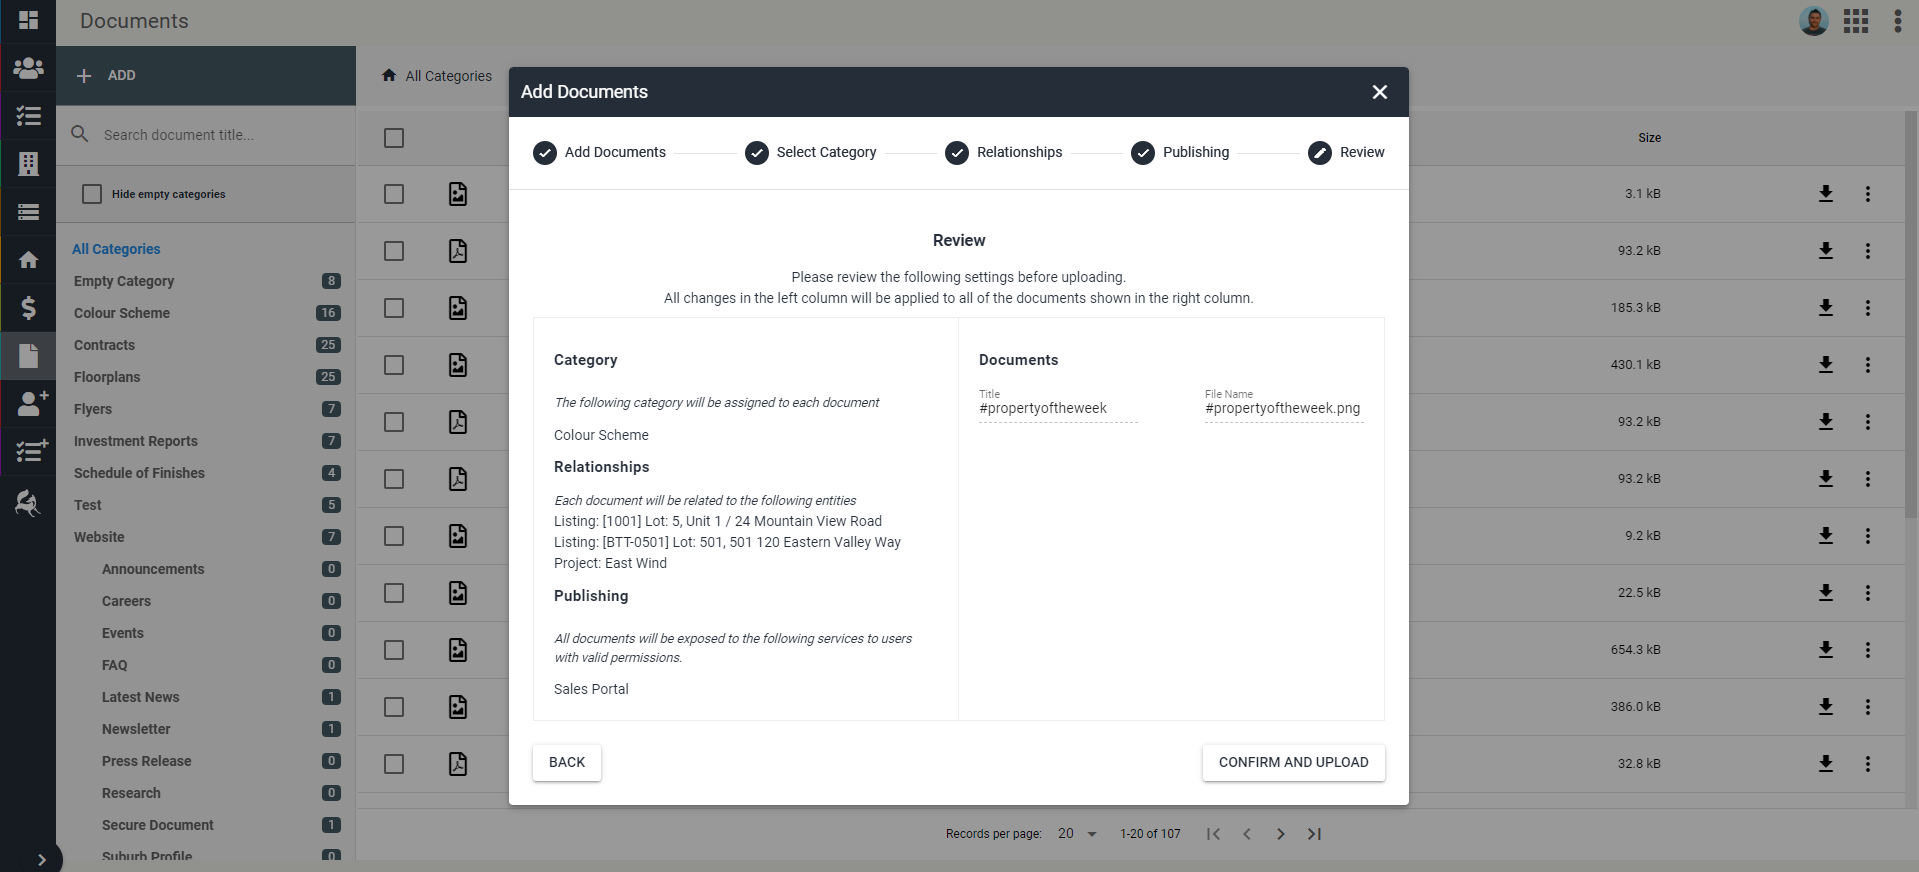
Review and if you're happy, click Confirm and Upload. The documents will now be loaded into the CRM and any other platform, if they were selected.
Delete Documents
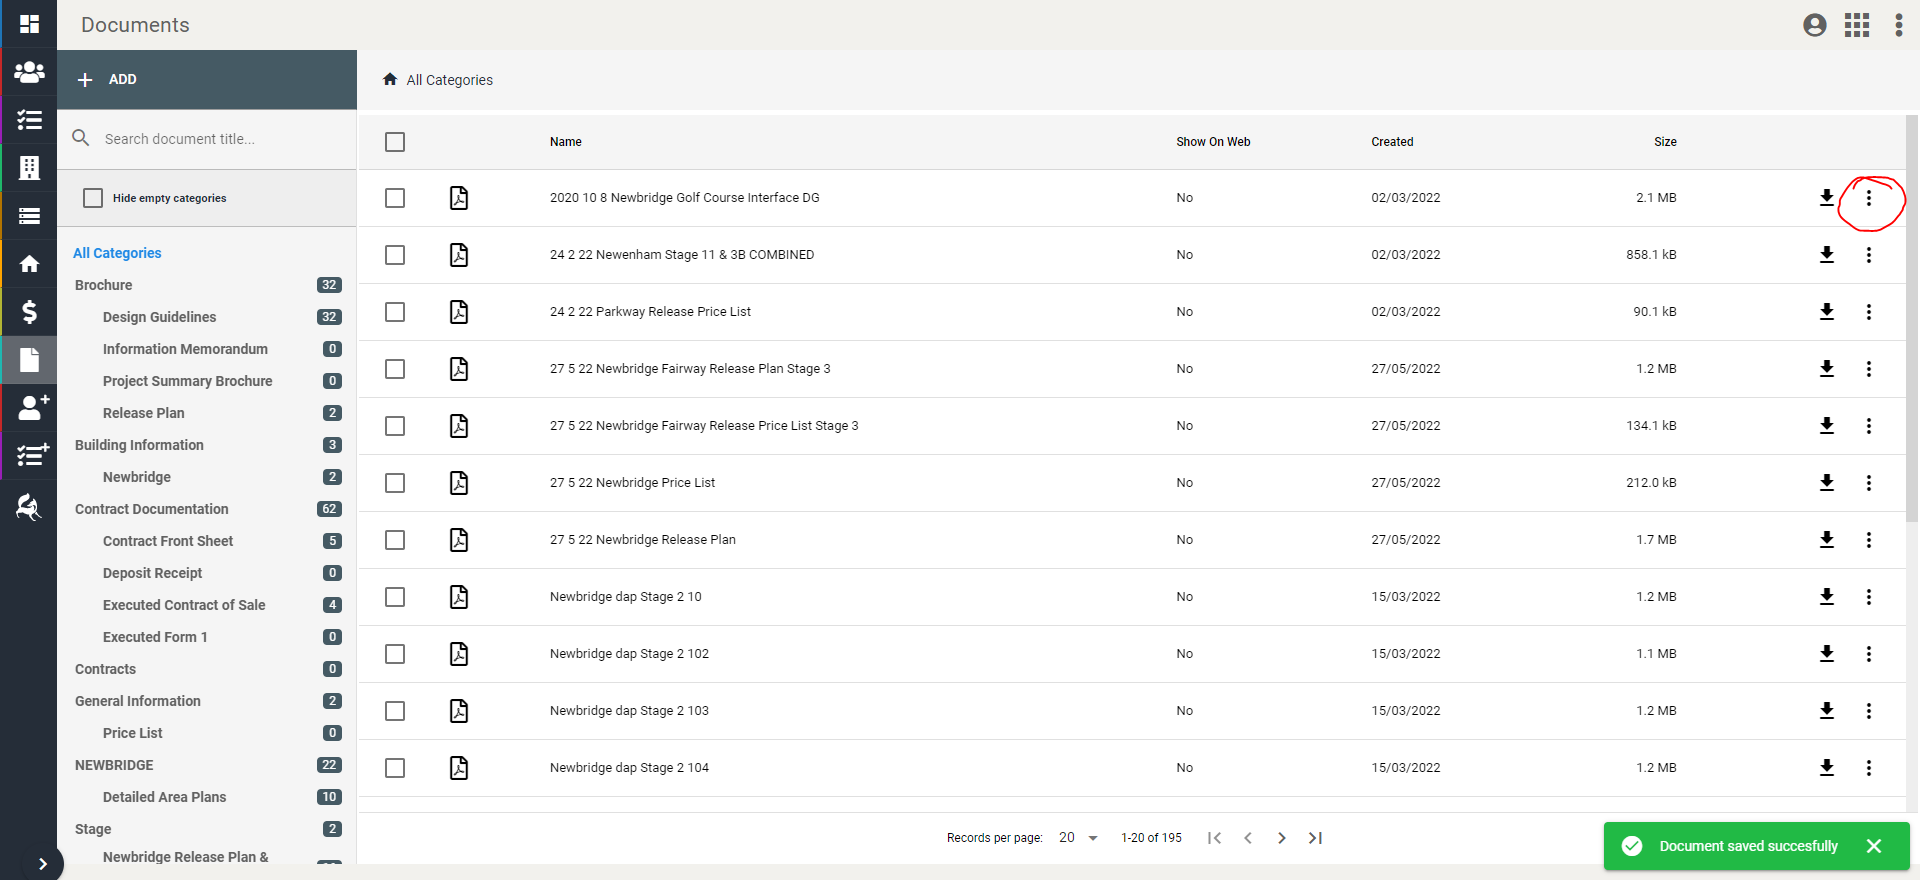
Navigate to Documents tab.
Locate the document you wish to delete.
Click the three dots ⋮ that sit on the right side of that document item.
When you click this, two options will open - Edit and Delete.
Click the Delete button.